

Written By: Shreyas Arisa and Nabeel Arshad | Georgia Institute of Technology
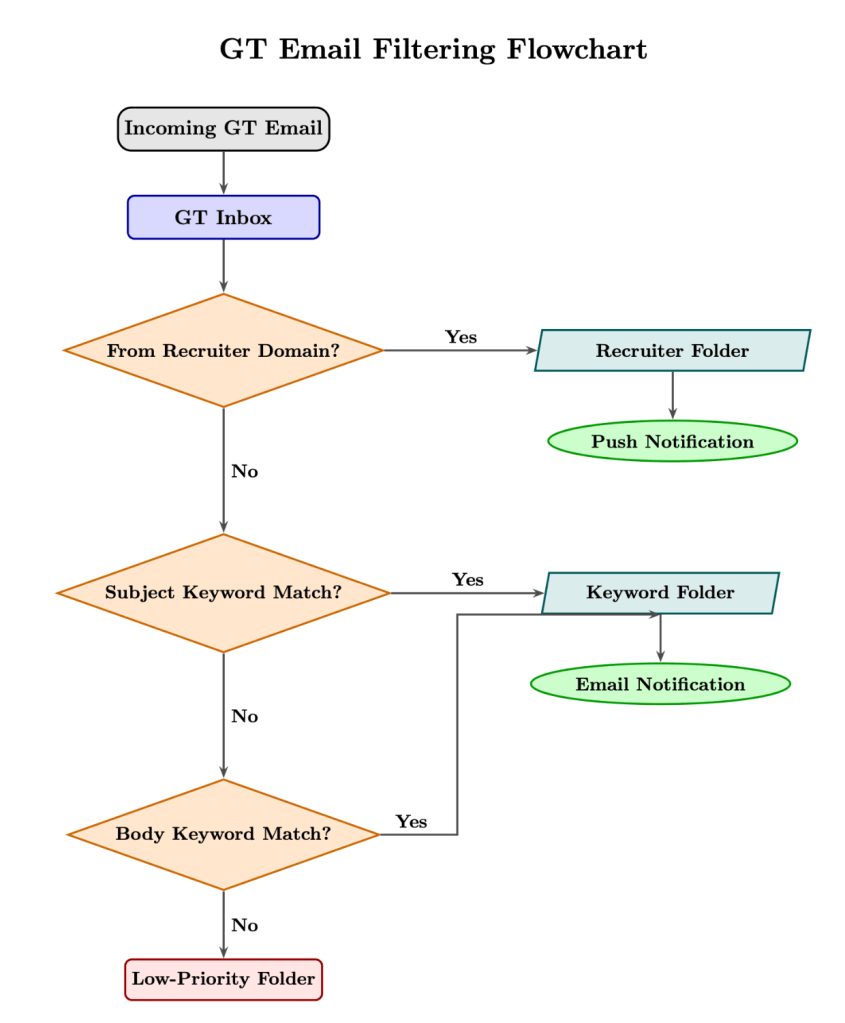
A complete guide for Georgia Tech students to transform their cluttered @gatech.edu inbox into an automated communication system for Outlook and Handshake.
For many new Georgia Tech students, the official @gatech.edu inbox quickly becomes a source of stress. Between Handshake alerts, department announcements, club newsletters, and campus updates, students often receive hundreds of emails every week.
Important opportunities like recruiter messages, internship deadlines, or networking invitations can easily get buried and missed. Missing a single email by just 24 hours can mean the difference between securing an interview at a top-tier company or losing the slot entirely.
By following these eight steps, you will transform your cluttered inbox into a professional, automated workflow that acts as the ideal career assistant.
8 Steps to a Career-Ready Inbox
Let’s outline the 8 steps we’ll cover to set up your inbox for maximum career impact.
Step 1: Claim and Set Up Your Custom GT Email Alias
Step 2: Integrate Handshake with Your GT Office 365 Account
Step 3: Set Up Priority Keywords in Outlook Rules
Step 4: Automate the “Move to Folder” Function for Handshake
Step 5: Configure the Outlook Mobile App for “Focused Inbox”
Step 6: Upload a “Live” Resume with Proper Technical Formatting
Step 7: Set Up Career Interest Notifications for Push Alerts
Step 1: Claim and Set Up Your Custom GT Email Alias
Before reaching out to recruiters, you need a professional digital identity.
- Log into the Georgia Tech Passport portal.
- Navigate to the Email Preferences section.
- Select an alias that follows a professional format, such as
firstname.lastname@gatech.edu. - Set this as your primary “From” address to ensure brand consistency across all applications.

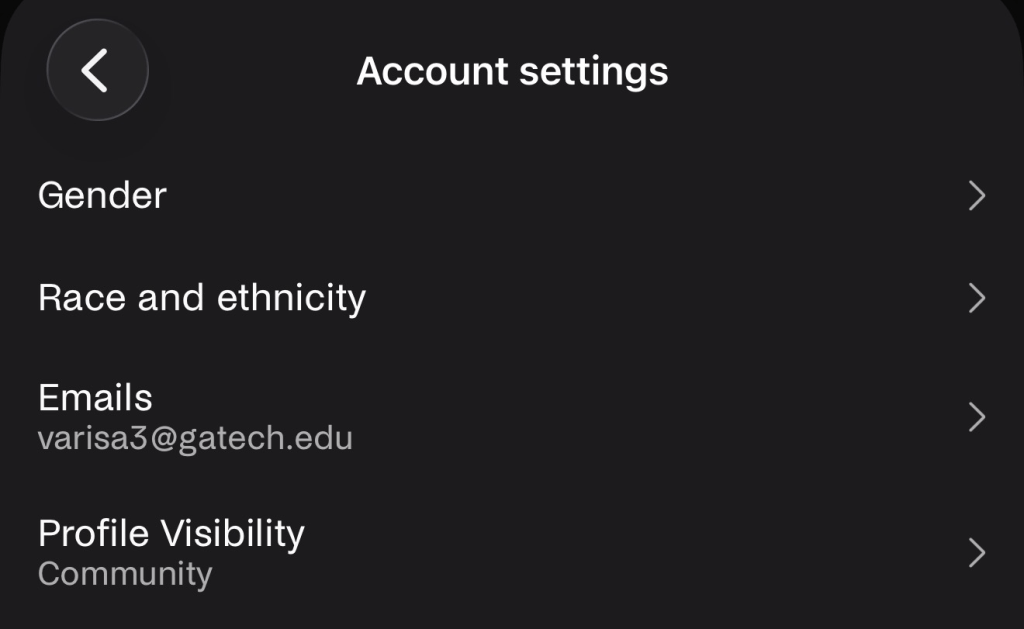
Step 2: Integrate Handshake with Your GT Office 365 Account
Handshake is the heartbeat of GT recruiting. You need to make sure it is talking to your inbox.
- Log into Handshake using your GT credentials and set up your account.
- Go to Settings & Privacy.
- Confirm your @gatech.edu email is verified and visible to the “community.”
- Under Notification Settings, turn on Email for “New Employer Messages” and “Interview Schedule Reminders.”
Step 3: Set Up Priority Keywords in Outlook Rules
Automate the triage process so you don’t have to scan every subject line manually. Outlook Rules let you define conditions so incoming emails are automatically flagged or moved before you even open them.
- Open Outlook on the web and go to Settings > Mail > Rules.
- Create a new rule called “Career Priority.”
- Add conditions: If the subject or body contains keywords like “Interview,” “Offer,” “Deadline,” or “Invitation.”
- Action: “Mark as High Importance” and Pin to top.
- For a video walkthrough, watch this quick Outlook Rules setup guide.

Step 4: Automate the “Move to Folder” Function for Handshake
Handshake sends many digest emails that are useful but clutter the main view.
- Create a folder in Outlook named “Handshake Archive.”
- Create an Outlook Rule: If the sender is
handshake@m.joinhandshake.com, then “Move to folder” → Handshake Archive. - This keeps your main inbox reserved for direct human-to-human contact.
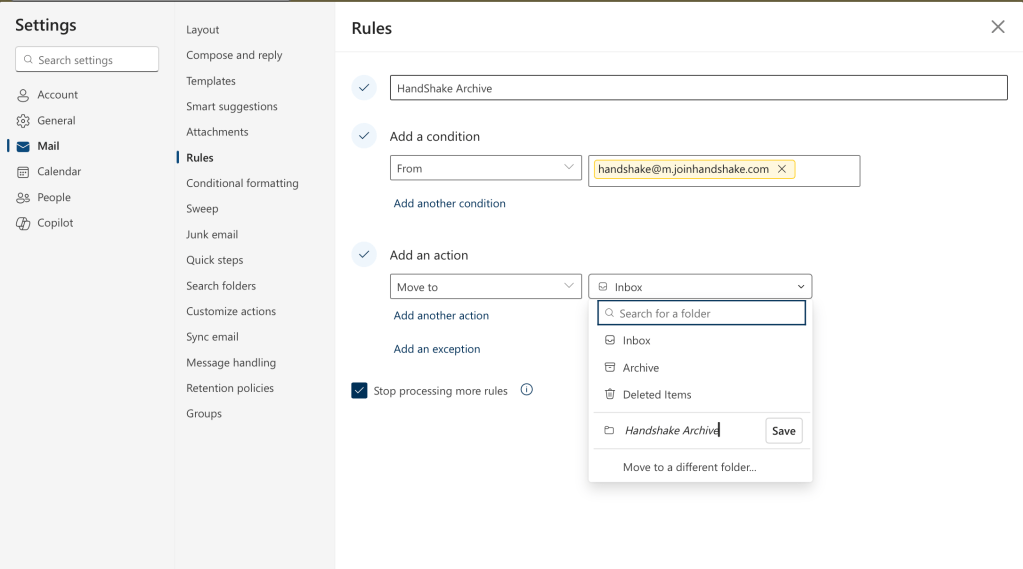
handshake@m.joinhandshake.com directly into the “Handshake Archive” folder.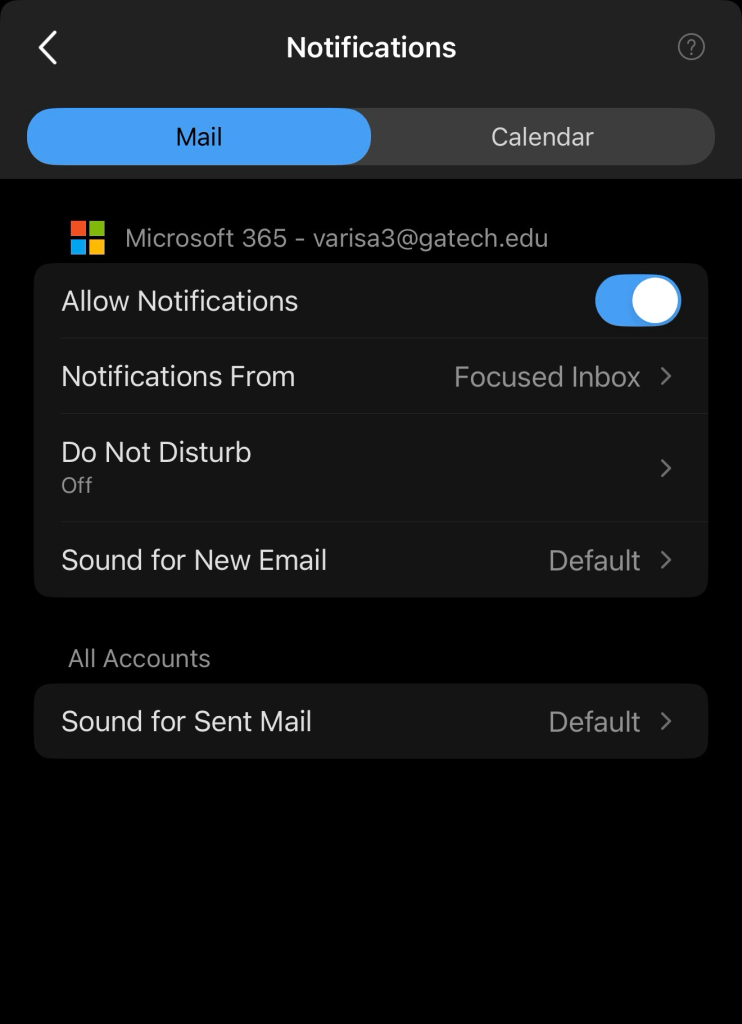
Step 5: Configure the Outlook Mobile App for “Focused Inbox”
Recruiters move fast; you need to see their messages on the go without the noise.
- Download the Outlook App and sign in with your GT credentials.
- Go to Settings and enable “Focused Inbox.”
- Train the AI: If a newsletter appears in “Focused,” move it to “Other.” This ensures only important career and academic emails trigger a notification.
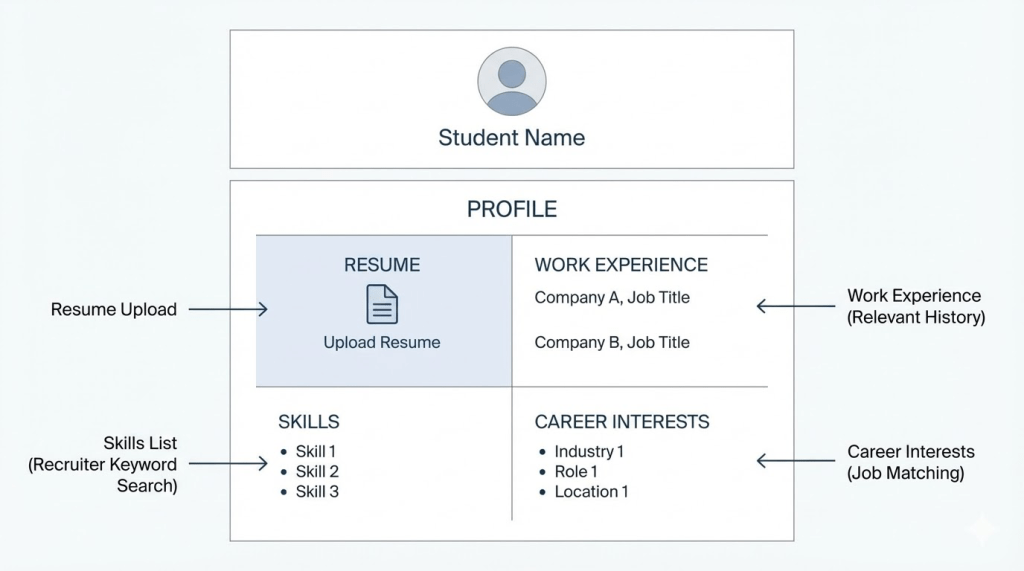
Step 6: Upload a “Live” Resume with Proper Technical Formatting
A system is only as good as the data inside it.
- In Handshake, go to Documents and upload your latest resume.
- Ensure your Major, Expected Graduation Year, and GPA are visible.
- Check the “Visible” box so GT-specific recruiters can find you through “Must-Have” technical tags during candidate searches.


Step 7: Set Up Career Interest Notifications for Push Alerts
Don’t wait to check the app; let the app check for you.
- In Handshake, navigate to Career Interests.
- Select your preferred industries like Aerospace, Fintech, etc.
- Save these preferences to trigger personalized push alerts when a company matching your profile posts a new role.
Step 8: Sync the Career Fair Map and Events to Calendars
The final step is to automatically know when and where to go to events.
- Find an event or Career Fair in Handshake.
- Click “Add to Calendar.”
- Select Outlook Calendar. This will automatically block off the time on your GT schedule and provide alerts 15 minutes before the event starts.

References
- Microsoft. (2024). Manage email messages by using rules in Outlook. Microsoft Support.
- Handshake. (2024). How to set up your Handshake profile. Handshake Help Center.


Leave a comment