

By William Chin and Saksham Bhardwaj
Starting your journey at Georgia Tech can feel exciting—but also overwhelming, especially if you’re new to programming. This guide is designed to walk you, step by step, through setting up a beginner-friendly software environment on your laptop, perfect for GT CS course work. Whether you’ve never written a line of code or just want to get ahead of classes, this page will help you choose the right operating system, set up your tools, and get ready to start coding confidently.
Table of Contents
- Table of Contents
- Part 1: Choosing an Operating System
- Part 2. Setting Up WSL For Windows
- Part 3. Setting Up macOS For Development
- Part 4. Downloading and Configuring VSCode
Part 1: Choosing an Operating System
Before you start coding, you’ll need to pick an operating system (OS). If you haven’t bought a laptop yet, this section will help you decide. Most laptops come with Windows, while MacBooks run macOS. Both work perfectly fine for Georgia Tech coursework.
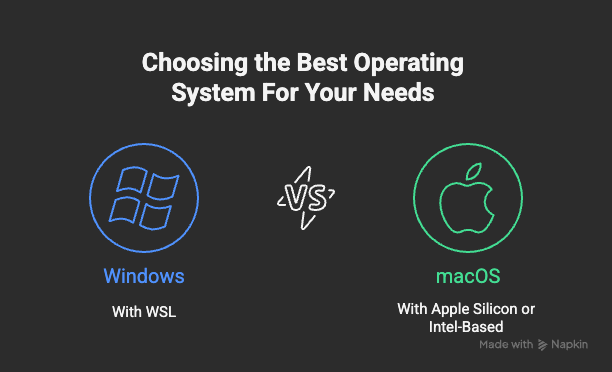
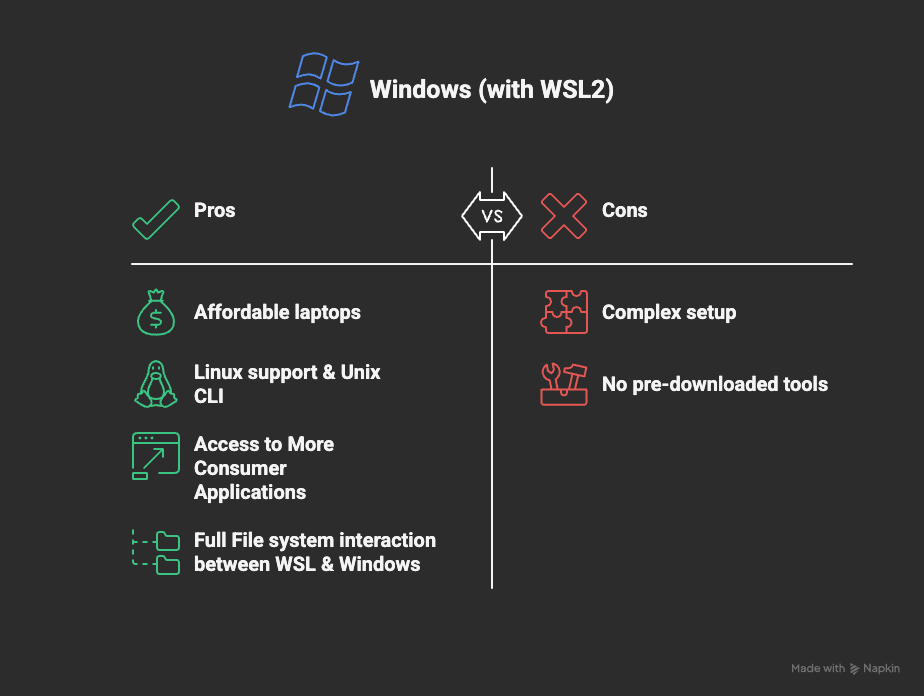
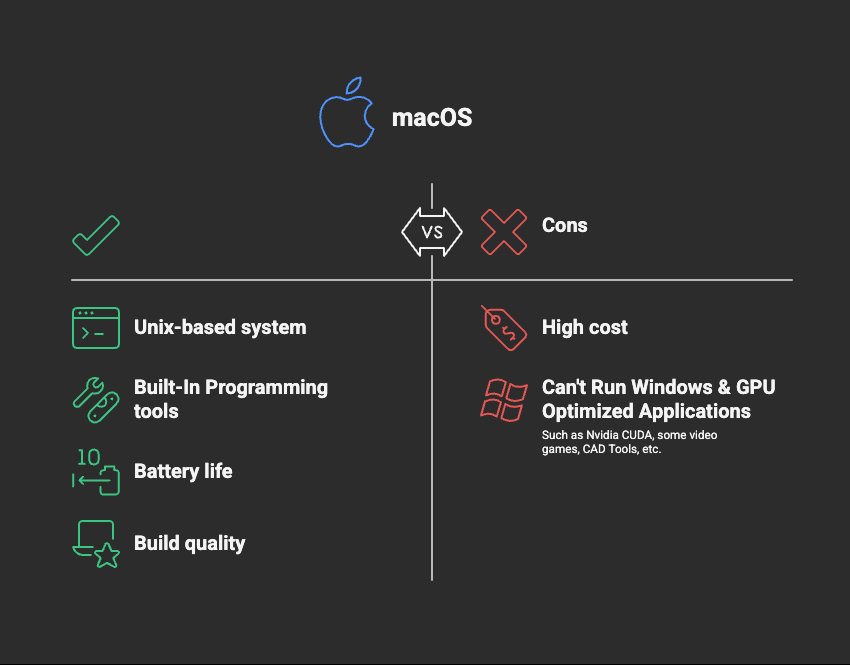
If you noticed from the image above, we recommend using Windows with WSL. WSL, or Windows Subsystem for Linux, is a Windows feature that allows students to run a Linux environment directly on a Windows machine. The reason why we state Windows with WSL, is because WSL is an extremely nice way for developers to have a clean, and efficient coding environment on Windows. Generally speaking, Windows as an operating system runs quite inefficiently, and has a lot less support for developer tools compared Linux, and WSL in our guide, is highly recommended for all Windows GT CS students. Additionally, many GT CS courses and CS clubs (such as most Systems & Architecture thread courses) will require students to use WSL on their Windows system. MacBooks already have a Unix-based system built in, so you can start coding right away without needing additional support like WSL. Ultimately, your choice comes down to budget and personal preference—either OS will handle your classes just fine, and this guide will show you how to set up both.
Have you picked your OS? Jump to (Windows ) or (macOS)
Part 2. Setting Up WSL For Windows
(If you are using macOS, skip to part 3.)
Windows without Windows Subsystem for Linux (WSL) is often very hard to navigate due to Window’s various obstructions. Additionally, many software suites do not support Windows, and only support Linux and macOS. Even though only some courses at GT will require Windows users to install and use WSL for some projects, we recommend to use WSL for all software related projects when using a Windows device.
Step 1: Install WSL
Open up Windows Power Shell as an Administrator and type:
wsl --install
Press enter, and when the download is finished, restart your computer. Additionally, if you would like a specific Linux distribution for your WSL, you can specify this with -d "Distribution Name". By default wsl --install will install the latest version of Ubuntu which is perfectly fine for classes.

Step 2. Configure WSL
When you computer finishes rebooting, log in to your windows user and a terminal window should pop-up. If a terminal window doesn’t pop-up, open PowerShell. Within the terminal it will request for a username and password. This doesn’t have to be the same as your window’s login, this login is specifically for your WSL system.

Step 3. Updating WSL
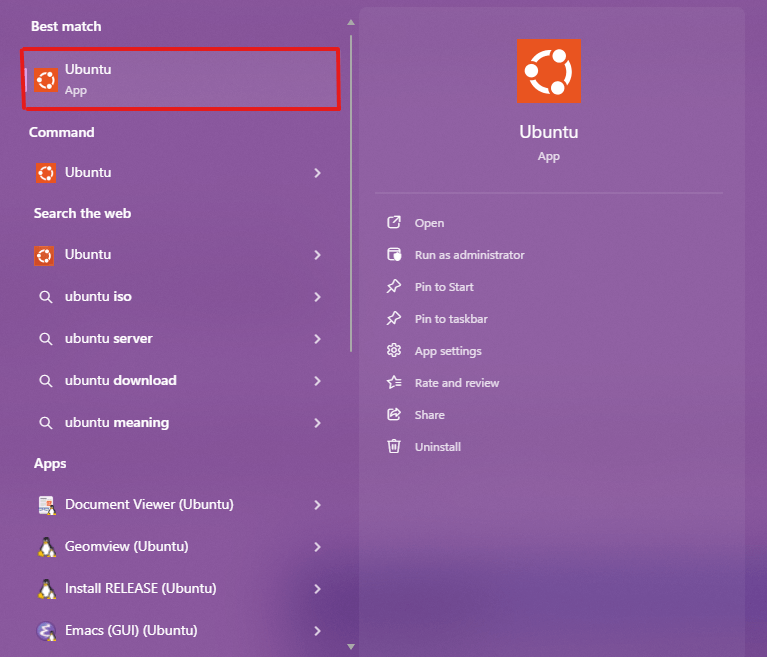
Now that you have your user configration setup for WSL, go into your Windows Search Bar and type in “Ubuntu” (the name of the specific Linux Distribution WSL uses), and run that application. Another terminal window should appear. This terminal window isn’t a powershell window or a CMD window, but instead is the Bash Linux Terminal that will be used to control all of your interactions with WSL.
Within this terminal type and enter:
sudo apt update && sudo apt upgrade
These commands will prompt you to enter in your password as these commands update the apt tool for Linux, and is required to install future software packages.
Part 3. Setting Up macOS For Development
(If you are using Windows and finished Part 2, skip this section and go to Part 4.)
Windows without WSL is often very hard to navigate due to Window’s various obstructions. Additionally, many software suites do not support Windows, and only support Linux and macOS. Even though only some courses at GT will require Windows users to install and use WSL for some projects, we recommened to use WSL for all software related projects when using a Windows device. Another option is using macOS, which we will help you setup below!
Step 1. Update macOS
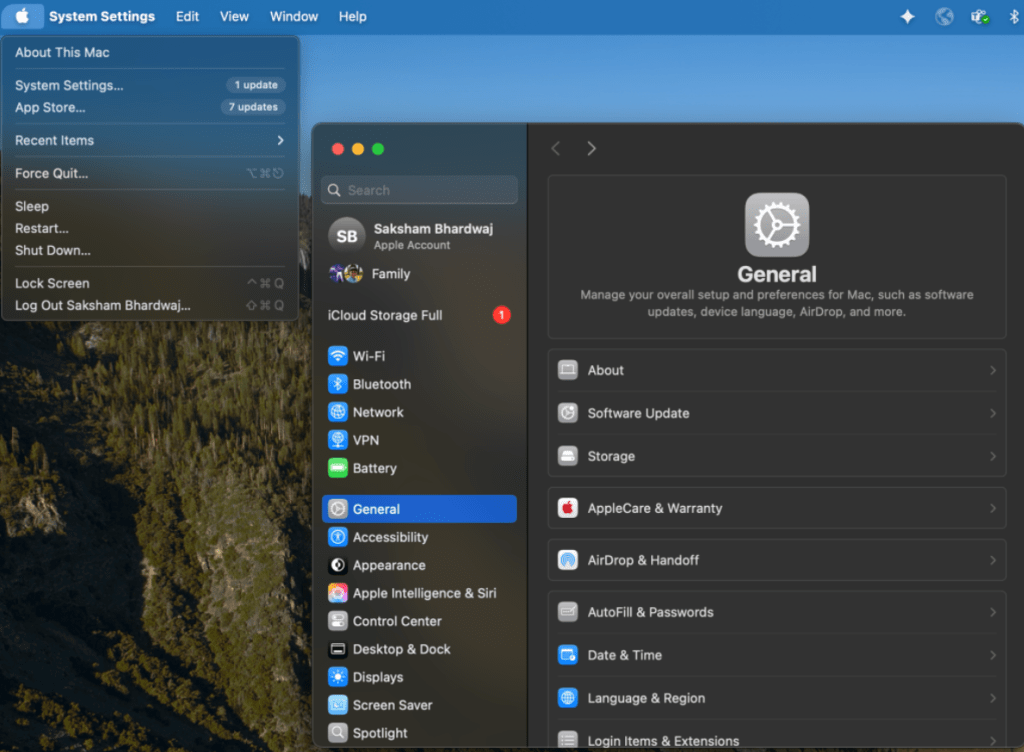
First, ensure your Macbook is up-to-date. To do this, click on the Apple menu -> System Settings -> General -> Software Update
Step 2. Installing Homebrew
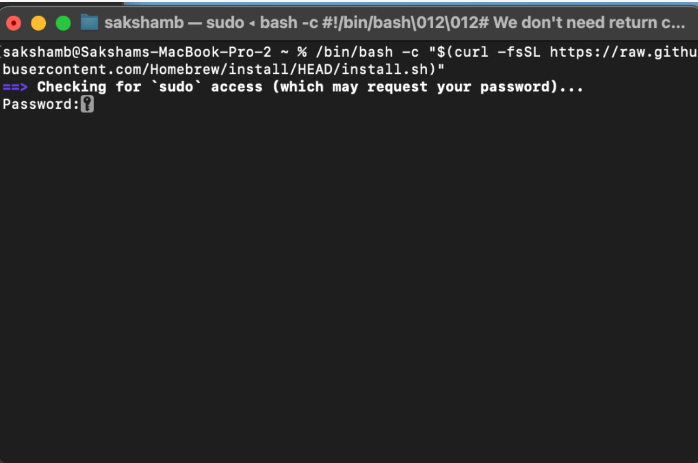
Homebrew is a tool for macOS that will allow you to install other software tools and packages. To install Homebrew, first open up the terminal application and type:/bin/bash -c "$(curl -fsSL https://raw.githubusercontent.com/Homebrew/install/HEAD/install.sh)"
If you run this and it requests for “sudo” type in your macOS password and press enter.
Step 3. Installing Xcode Command Line Tools
Xcode is exclusive for macOS, but the command line tool kit will help us install other essential developer tools.
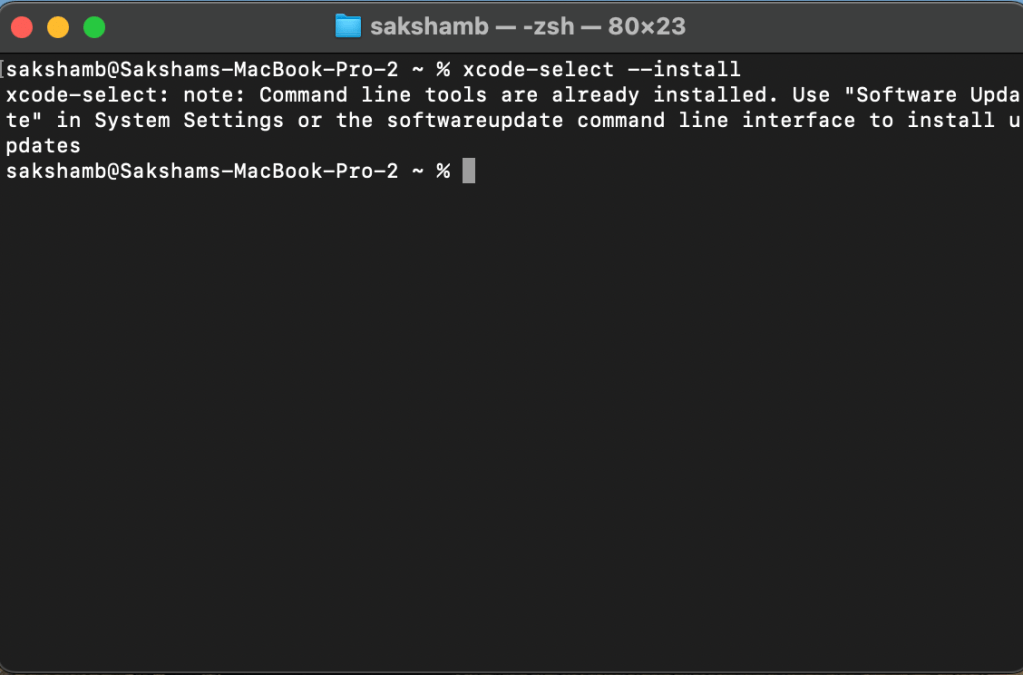
To install Xcode Command Line Tools, open macOS Terminal, then type:xcode-select --install
press enter. A popup will appear, click “Install” in the pop-up
Part 4. Downloading and Configuring VSCode
VSCode is an integrated development environment (IDE) that offers language support for any coding language you may ever use at Georgia Tech. It’s simple, easy to use, and quick to set up, which is why we recommend using it. Other than its simplicity and adaptability, many GT CS courses just require or recommend VSCode to be used for coursework. If you decide that VSCode is not your cup of tea, we have also provided a list of other IDEs at the end of this section.
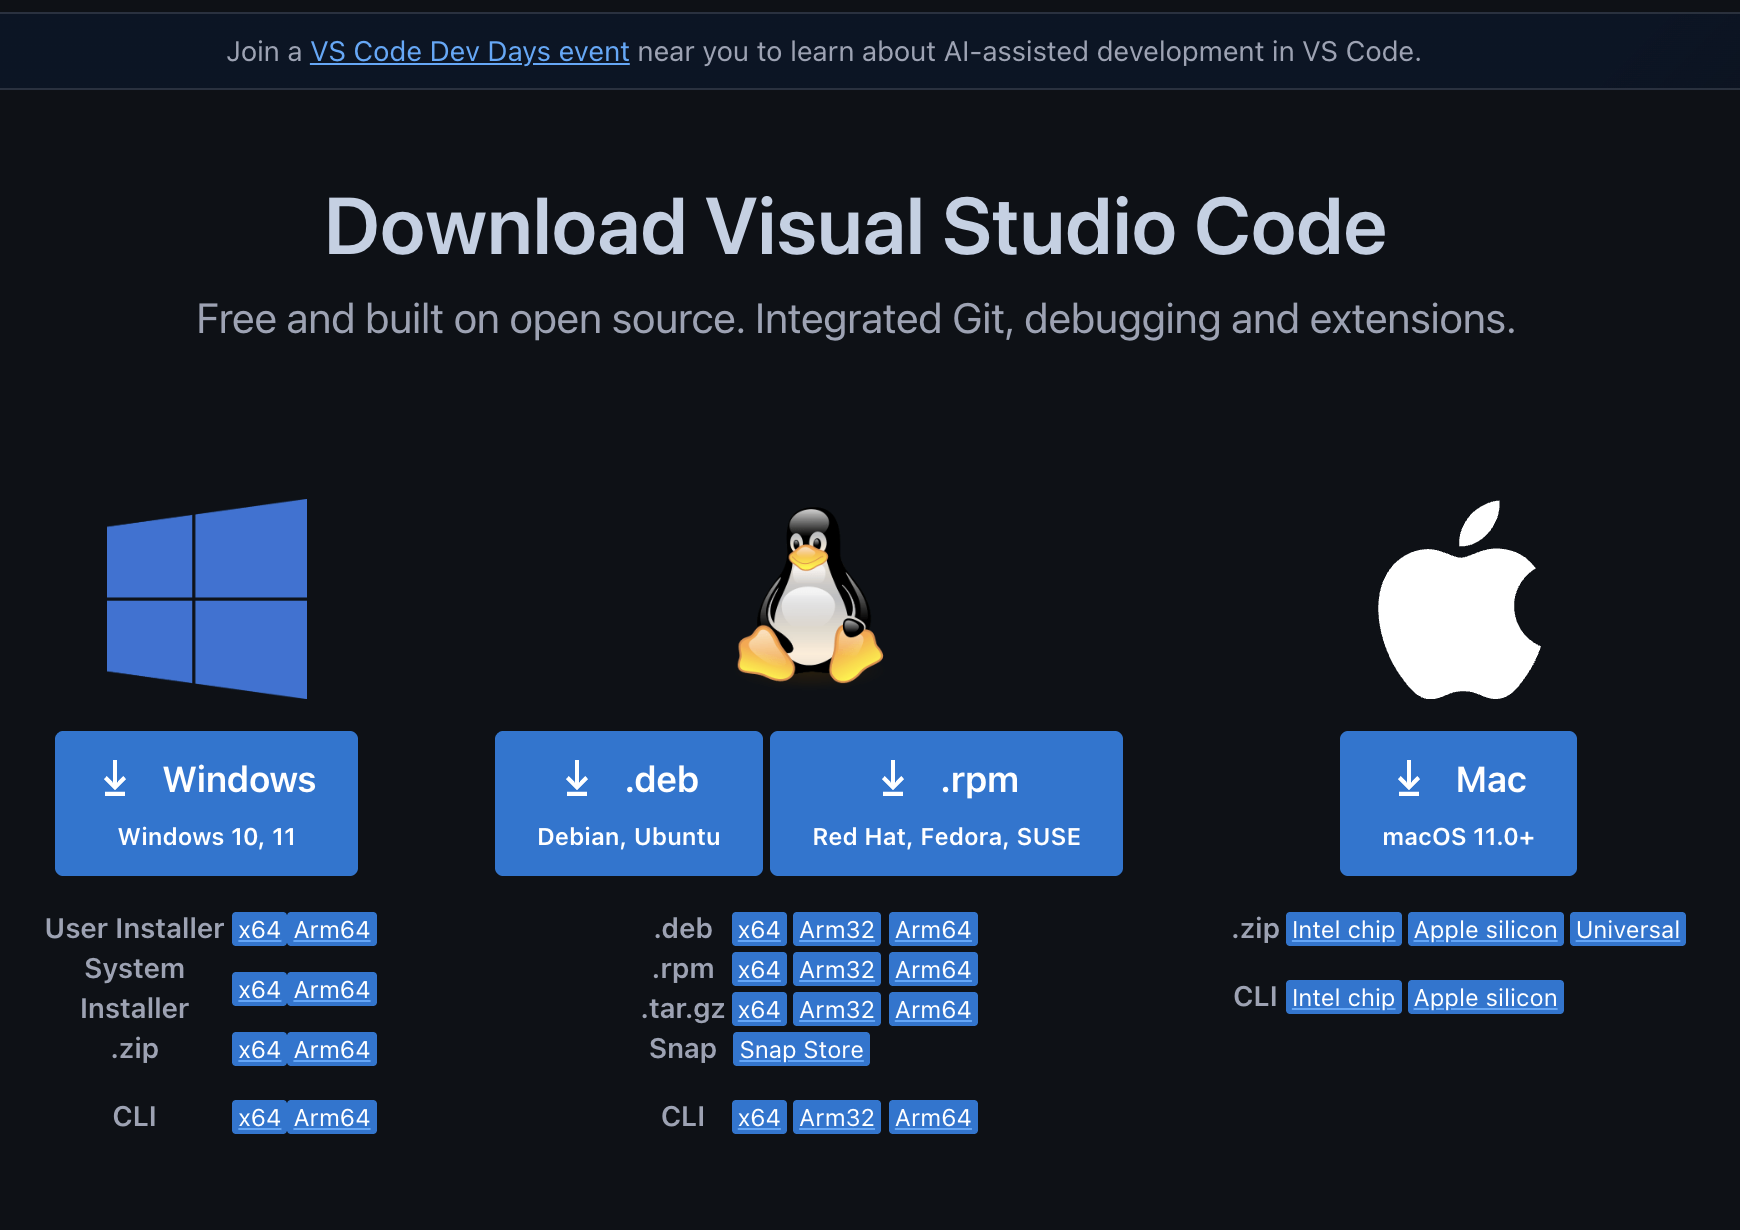
Step 1. Download VSCode + Language Runtimes
First, we have to install VSCode. Go to https://code.visualstudio.com/download and select the version that matches your laptop. Note that even though for Windows we have installed WSL, you want to install VSCode for Windows. Next, you’re going to want to ensure that you have the desired runtime of your language installed. As an
example, we will show the download for Python, which is used in CS 1301, the intro CS class at GT.
The download for Python can be found at this link:
https://www.python.org/downloads/
Make sure you install whichever specific runtime
version your class requires!
Step 2. Add Key Extensions
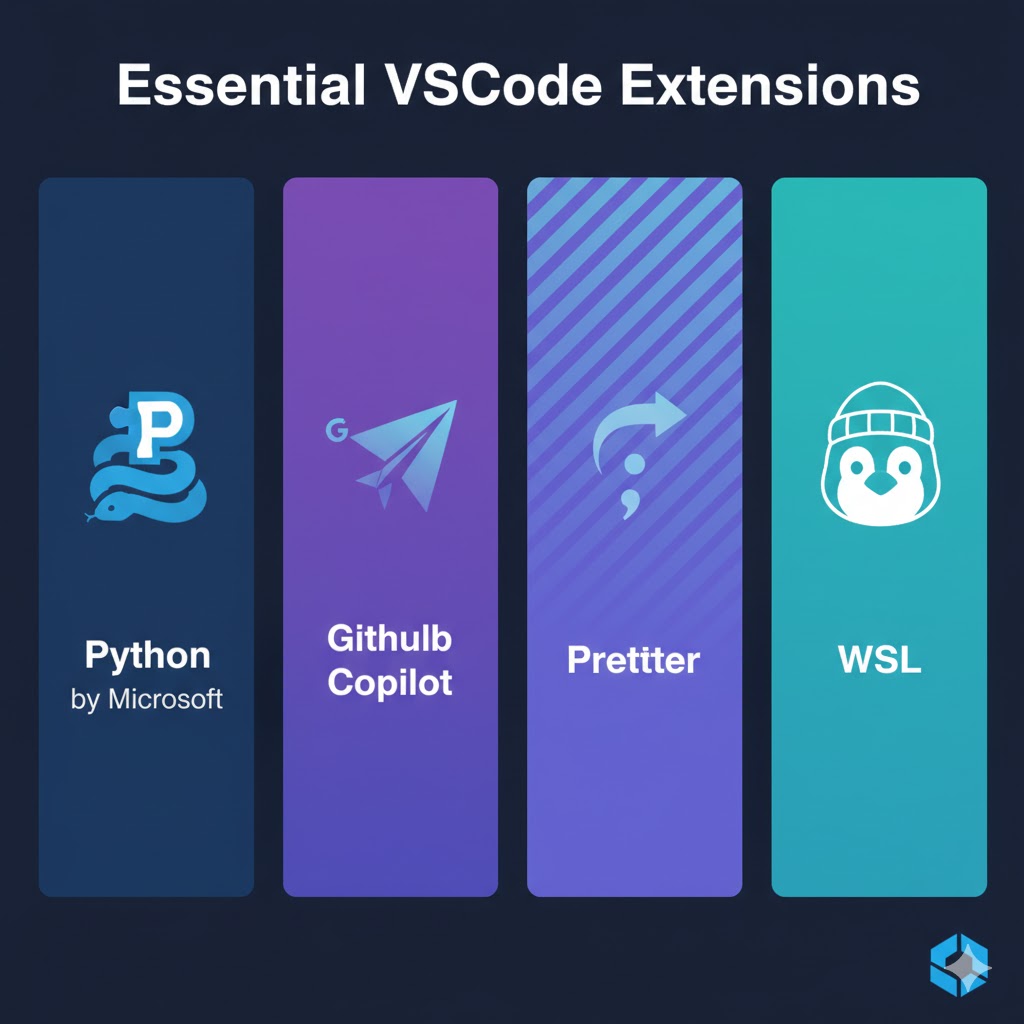
In VS Code, you can check out the Extensions panel (the square icon on the left).
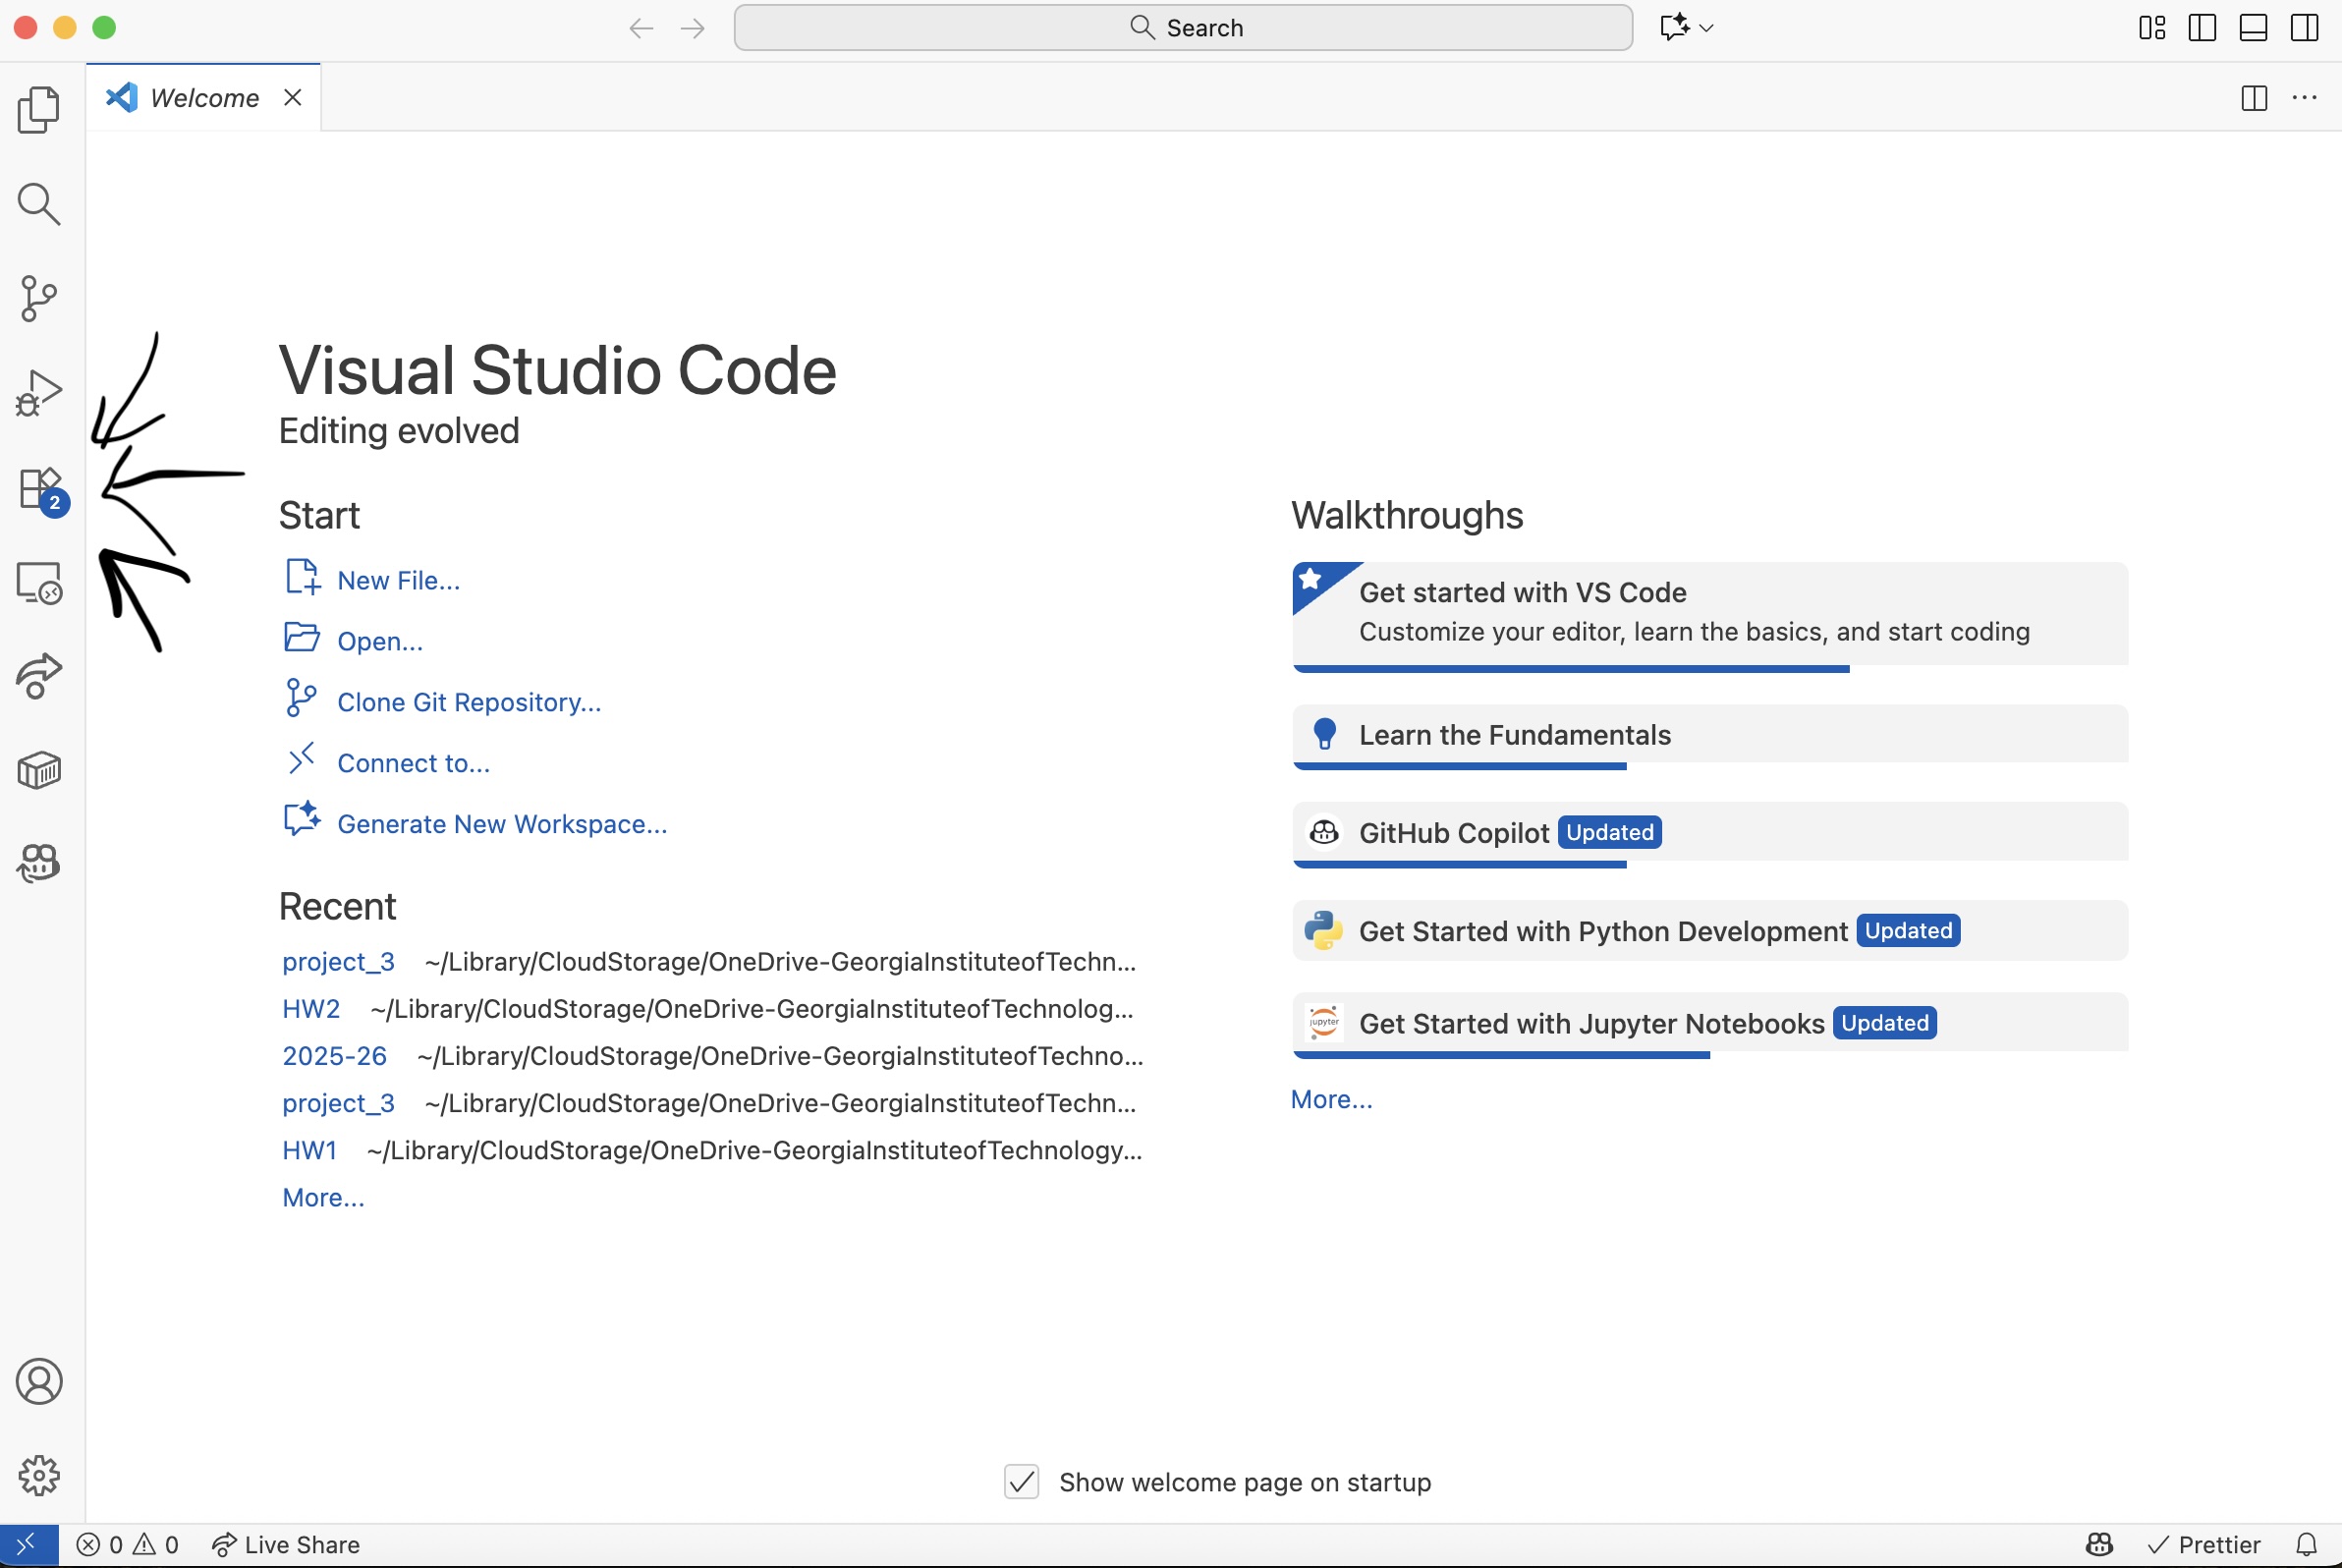
Some popular extensions to use are:
WSL – this extension is required in order for VSCode on Windows to interact with your WSL system
Python (by Microsoft) – this makes coding in Python easier with features like running your code and spotting mistakes.
GitHub Copilot – gives you code suggestions as you type (kind of like autocomplete, but smarter).
Prettier – Code Formatter – automatically cleans up your code so it looks neat and consistent.
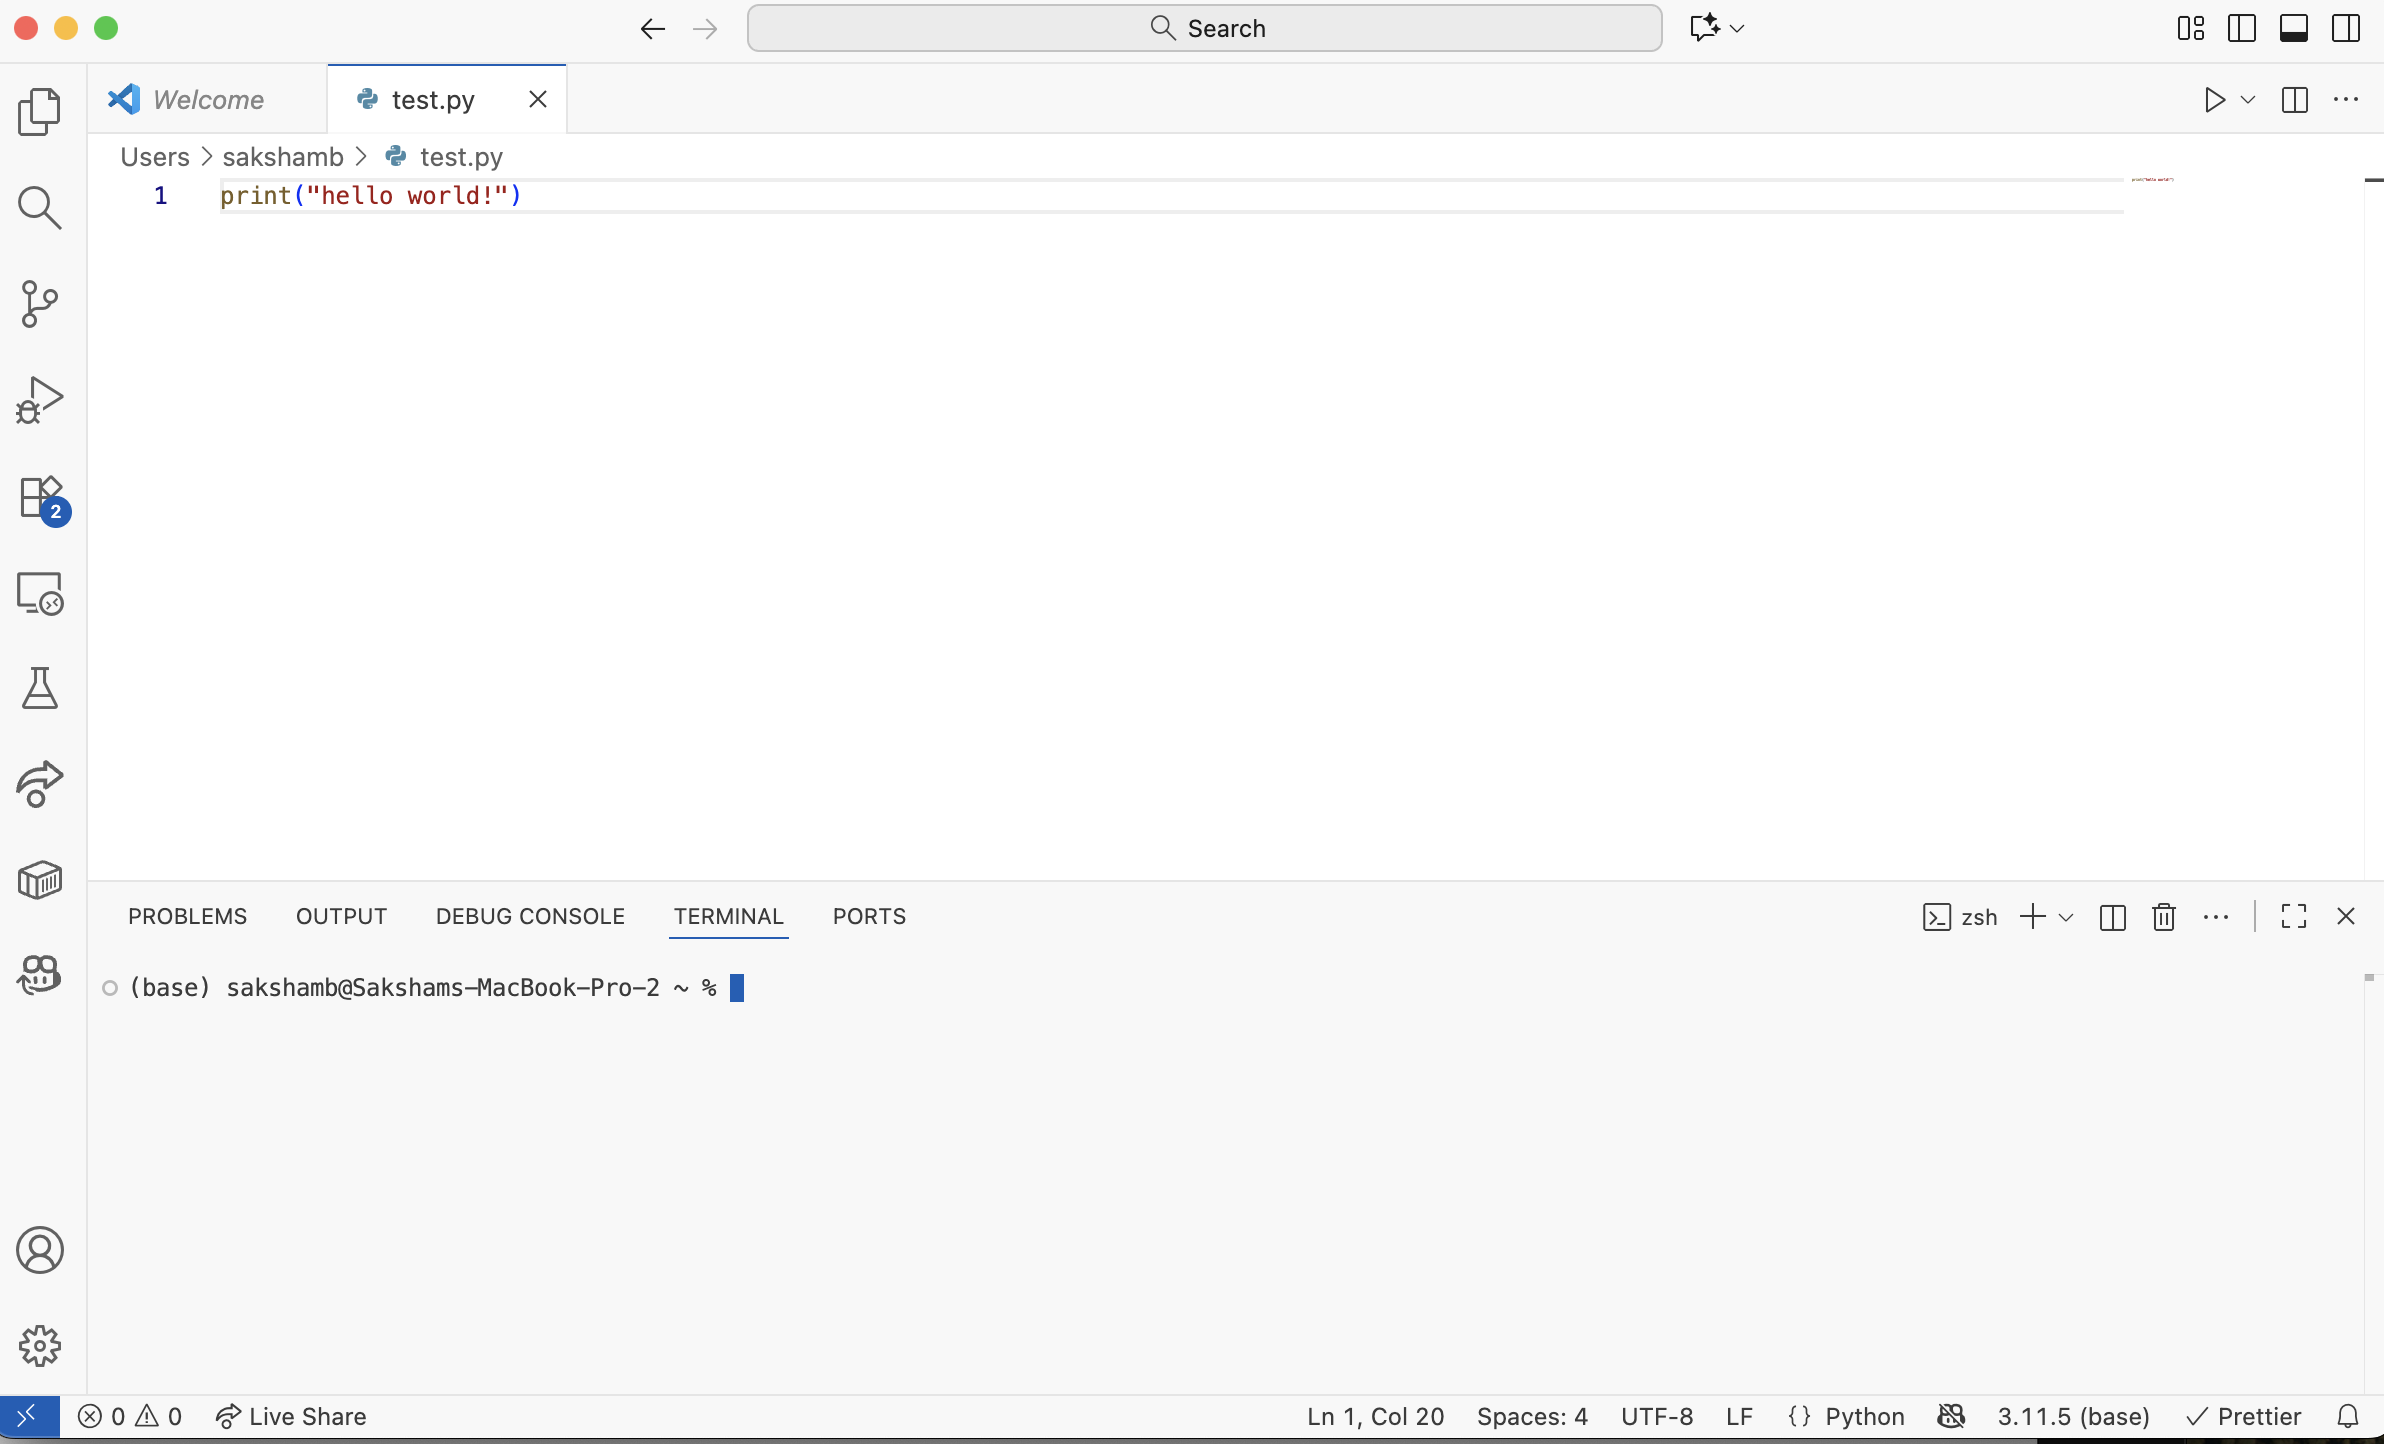
Step 3. Test!
Open the terminal in VS Code. Run a simple print("Hello, world!") in Python.
Try out the debugger or Git if you’re curious.
(Optional) Step 4. Download Alternative IDEs
- PyCharm: IDE used specifically for Python, sometimes used in CS 2340
- IntelliJ: IDE for Java, and is used specifically in CS 1332
- Android Studio: IDE for Android app development, still used in some CS 2340 courses

Leave a comment