
Introduction
One of the most important fundamental skills Computer Science students need a firm grasp of is how to use Git and GitHub, especially for school work. Georgia Tech computer science students should have a good understanding of how to use GitHub since every student account comes with a built in school GitHub enterprise account. GitHub is an essential tool for collaboration and version control that is used throughout CS classes and of course most of the professional world. However, not everyone comes to Georgia Tech with an equal familiarity with GitHub. Despite the importance of Git and GitHub it is not the simplest process to use without prior familiarity. This guide will allow cover all the essential basics of using Git and GitHub to create your first repository and push your code to it.
Step 1: Account Access/Creation
The first step to get working with Git and GitHub is to make sure you have an account. There are two options here, you can either use your existing Georgia Tech GitHub account or create your own fresh account with GitHub.
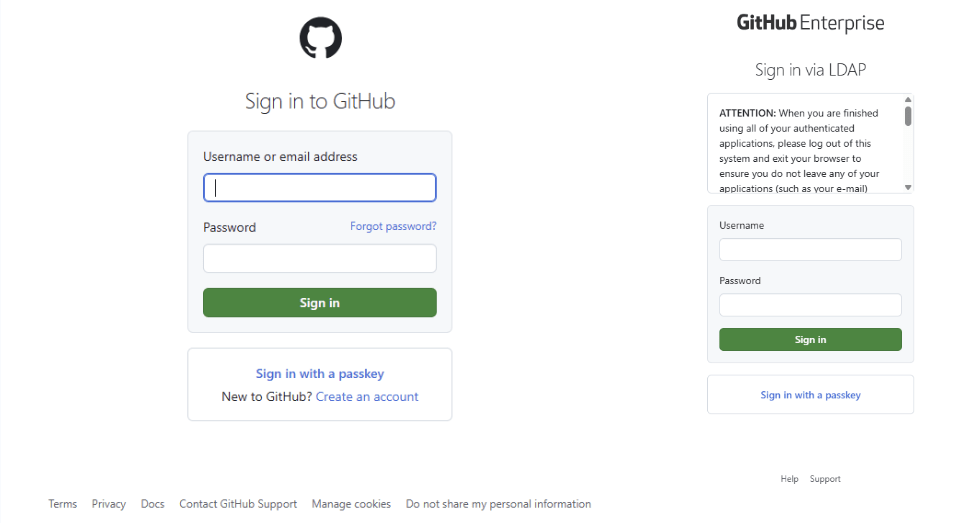
To access the Georgia Tech GitHub enterprise website and your GT GitHub Account navigate to this version of the GitHub website: https://github.gatech.edu/, from this page simply sign in with your existing Georgia Tech username (formatted as [first initial][last name][a number]) not your email, so no need to include @gatech.edu.
To create your own GitHub account head to https://github.com/ and select “Sign Up” in the top right corner. GitHub will walk you through the steps to sign up but keep in mind you will need a valid email address and may need to enable two factor authentication.
Step 2: Installing Git
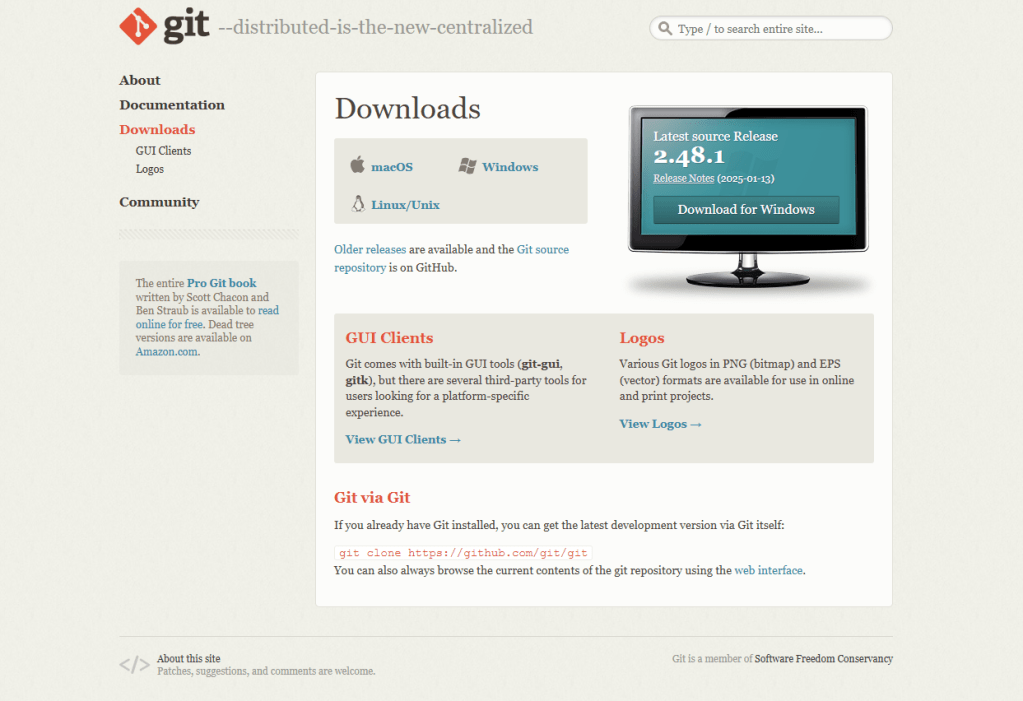
Next you will need to ensure Git is installed on your device of choice. This step can be skipped if you already have git installed on your device. Keep in mind Git and GitHub are different. Git is the software that tracks changes to documents and repositories on your device while GitHub is an online resource for accessing Git repositories remotely. To install Git head to https://git-scm.com/ and select the downloads button. Then select the type of operating system you are using and install the latest version of Git.
Step 3: Configure Git
Now with Git installed make sure your device is using the account you created or accessed in step one.
To set your Git account open command prompt and type the following commands to set your git username and associated email.
git config --global user.name "your_username"
git config --global user.email "your_email@example.com"
Step 4: Initialize Your Project
Now that git is installed you can initialize your first repository. If you have a project you would like to practice on navigate to its directory in command prompt. (Use cd [directory name] to navigate to a folder you can open and cd .. to navigate out of a directory you are in) If you just want to practice and do not have a specific project simply create a folder and add a few dummy .txt files to it to use for testing.
Once you are in the desired directory type the following command.
git initThis will initialize an empty repository at the directory you are currently at, essentially marking it and any folders and files within as a project you would like to track.
Step 5: Creating a .gitignore
The first best practice to follow when creating a repository is to create a .gitignore file. This is done by creating a new file with the type “.gitignore” it can have a name but this is not necessary. Then using any text editor such as Notepad open the file and type the exact file names of any files you want to not include in the repository. For simple projects this may seem superfluous but it is usually necessary for many larger projects which include files that are necessary to run but do not contain code you plan to edit or want visible in the repository.
To see example .gitignore templates see this link to a repository with many example .gitignore templates for various types of projects: https://github.com/github/gitignore
Step 6: Adding Files to the Repository
Now that your repository is set up it is time to add files to it. This is the process of marking files as important for the repository to track. By adding a file it means that the repository will record any changes that you make to the file so that those changes can be compared with other collaborators or other versions of the project.
To add a specific file type:
git add <file name>To add all the files (except for ignored files) type:
git add .Step 7: Commit Changes
Adding the files however does not finalize any changes you have made to them. To do that we must commit, which records all the changes to files since the last commit. It is important to do this after you complete any relevant work on a project to keep a proper record of code changes.
To make a commit you must also include a commit message describing the changes you have made. Lets practice, first make a few small changes to any of the files you added to the repository in the last step. Next type the following to commit them
git commit -m "Your Commit Message"For now you could use something simple like “Initial Commit” for your message but be sure to include descriptive messages, especially when working with others.
Step 8: Creating Remote GitHub Repository
Now that we have finished working with the local repository we need to create a remote repository on GitHub. This is how you share your repository with others to collaborate on coding projects. Head to https://github.com/ or https://github.gatech.edu/ depending on which account you are using and sign in again if needed. Select your account icon in the very top right of the page and choose “Your Repositories” from the drop down. Then select the green “New Button” on this page near the top right.
This will open up the page for creating a GitHub repository, there will be several options but many are optional. The important ones are the repository name which is required and the selection of public or private. Make sure to give your repository a descriptive name and then choose either public or private, both are fine but you should consider which is best for your project. Public is easier for setting up collaboration but if you have sensitive information on your repository or simply do not wish for others to see it you can select private. Once you are done here you can select create repository and then we can move on to linking it with your local repository.
Step 9: Link Local and Remote Repositories
After you create your repository you will be taken to the repository page, there is a lot here but for now we will keep it simple and just focus on connecting our local repository to this one. To do this select the green “Code” drop down. There will be a URL in a text box that you can copy. With that copied head back to the command prompt with your local repository open.
In the command prompt type:
git remote add origin <repository_URL>Doing this sets the remote repository you created as a destination for your code when you push.
Step 10: Push Changes to GitHub
Now that the two local and remote repositories are linked we can push our commit up to the remote repository. Doing this sends the code and all the changes you made to it up to the remote repository you created on GitHub.
To do so type:
git push -u origin masterNow if you look in the repository window on GitHub you should see the code from your computer saved on the website (you may need to reload the page). Congratulations your project is now saved on the cloud and can be shared with others or collaborated on remotely.
Conclusion
Getting the hang of Git and GitHub is really important for any computer science student, especially at Georgia Tech where we use it all the time in classes and eventually in our careers. This guide helped walk you through the basics, from setting up your account to pushing your projects to GitHub. It might seem complicated at first, but it gets easier the more you use it. Just keep practicing everything we went through here, like adding files, committing changes, and pushing updates. The more you mess around with it, the better you’ll get

Leave a comment